
How to create an existing contacts campaign
Message Limits
You can send up to 100 messages per day to your 1st-degree connections. This limit applies per account, so it’s best to distribute your outreach across your active Existing Connections campaigns.
Creating an Existing Contacts Campaign
Go to Campaigns
Open your Campaigns section and click Add New Campaign.
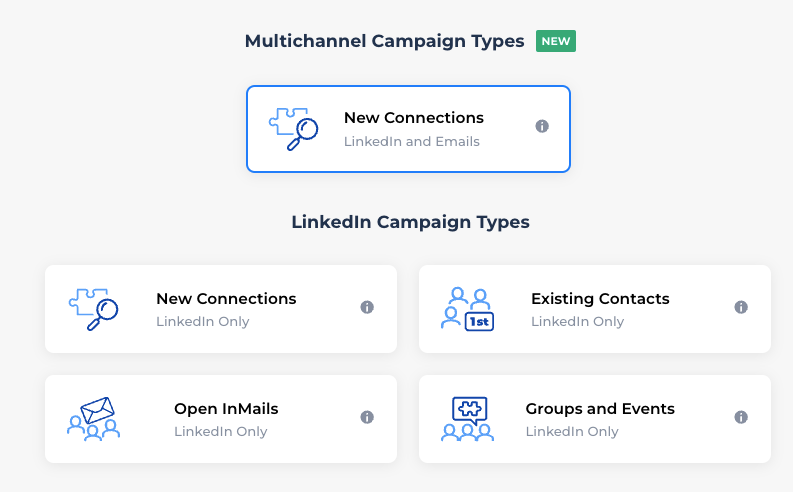
Choose Campaign Type
Select Existing Contacts and click Next.
Add Campaign Details
Enter a campaign name and (optionally) a description. This info is only visible to you - it won’t appear to your contacts.
Decide on Additional Actions
You can set the campaign to take engagement actions such as visiting a profile, liking a post, or endorsing skills. These can be configured in two ways:
As the first step: Actions (visit, like, endorse) happen once at the beginning of the campaign before any follow-ups.
Before each step: Actions repeat before every follow-up message. For example, the system visits the profile, likes the latest post, then sends the follow-up - repeating this cycle each time.

Add Follow-Up Messages
Create a new template or choose an existing one.
You can add as many follow-ups as you like.
⚠️ Note: Hyperlinks aren’t supported in follow-up messages.
Timing: When scheduling, “send after X days” refers to how long after a contact is added to the campaign the message will go out.
Example: If a contact is added on July 20 and you set “send after” to 1, the message will be sent on July 21.
To send immediately, set this number to 0.
Set Your Schedule
Define the time window when the campaign will run.
Minimum campaign interval: 3 hours.
Review & Launch
Double-check your settings in the summary view.
Click Create to activate the campaign.