How To Create InMail Campaign
Overview
Sending an invite to your prospects is no longer required to reach out to them.
Scale your outreach by up to 800 prospects per month to improve your outreach (limited by 50 per day).
NOTE: You can’t run both connection message sequence and open InMails at the same time therefore it's recommended one or the other first*
Here’s how you can do it
Click on campaigns and click on Add New Campaign
Select Open InMails campaign and click next
Name the campaign and add a description (optional)
Set the amount of InMails to be sent per day
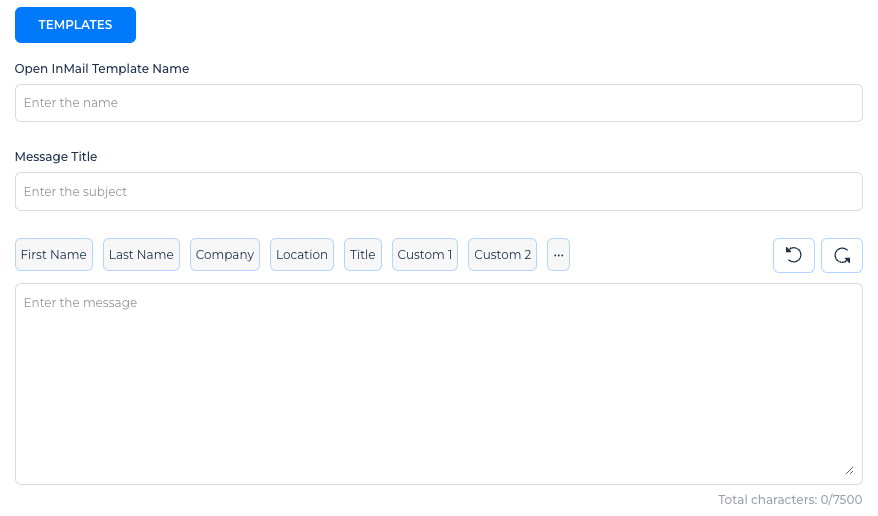
Create your open InMail message. You can use an existing template or create a new one. You can only send 1 InMail message. Follow-Up or a second InMail message to a LinkedIn member, cannot be sent until they accept and respond to your initial InMail or if the contact has declined your initial InMail.
Once you have created your InMail message, click Save as a Template or update.
Set how many days later you want to send the InMail message. Days = days since the member was added as part of your campaign set up.
Example: if the contact was added on July 15th, and you set the days to two (2), InMail message will be sent on July 17th.
Setting the number to 0 will make the campaign send the InMail on the same day.
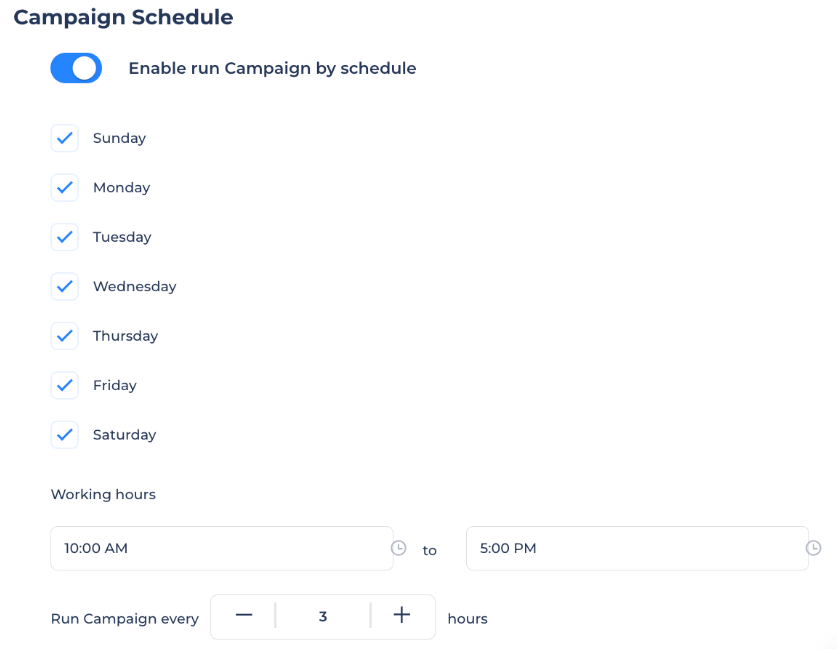
Click Next, and you will need to set the schedule for the campaign to work on. Click Next again
Review the details, and click CREATE.
Once the campaign is created, it's time to import. Select your desired list. Only open profile accounts will be imported.
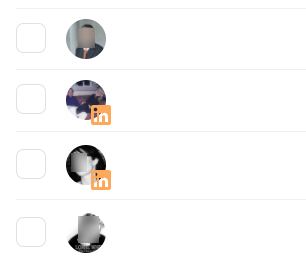
Upon the import of the contacts, all open profiles will display the IN in their profile picture
Things to take in consideration
We’ll send Open InMails over Sales Navigator inbox LinkedIn if you have a Sales Navigator license. If you don't they will be sent via regular inbox.
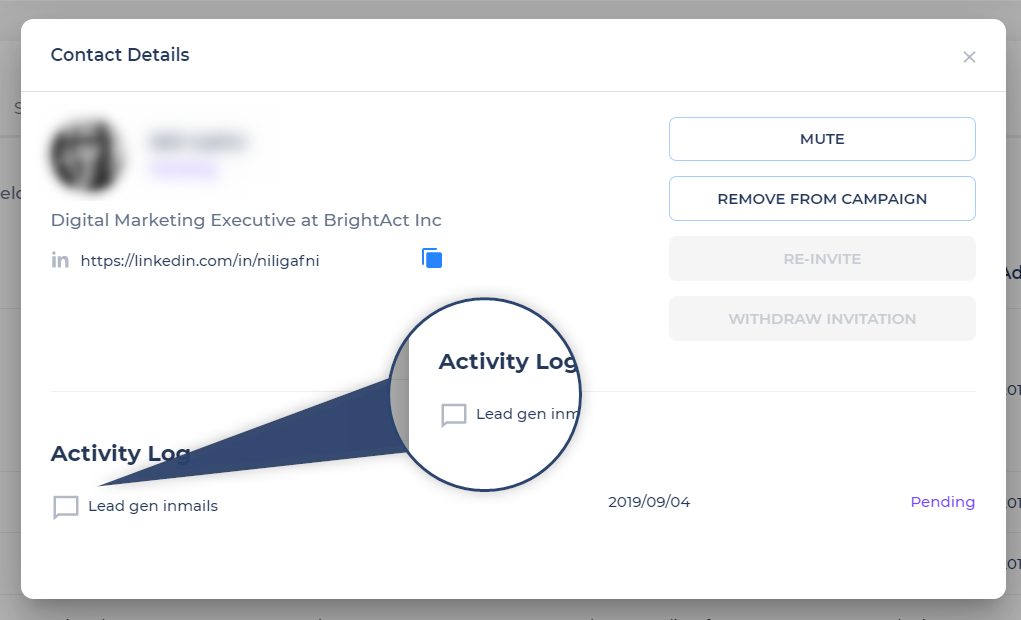
Whenever the campaign starts sending InMail messages, they will show as below:
Please note that, for now, we do not track replies when the messages are sent via Sales Navigator inbox.


